

With CSPR.name, you can give your Casper account a human-readable alias, such as alice.cspr instead of using a long hexadecimal string, like this:
14c8b2f09ad2ef34c23bff91d52e6f48cbd714ea1fa8b3e71d26547ebfd1229c
When sending tokens, interacting with dApps, or managing NFTs, having a clean name makes things easier. Therefore, naming your Casper account simplifies interactions by reducing the chance of sending to wrong addresses. It also helps build identities on chain, which is
CSPR.name is the official naming service on the Casper Network, working natively across wallets and dApps that support it, and is powered by NFTs. Each name is represented as an NFT that you control.
Now, let’s get you your Web3 name!
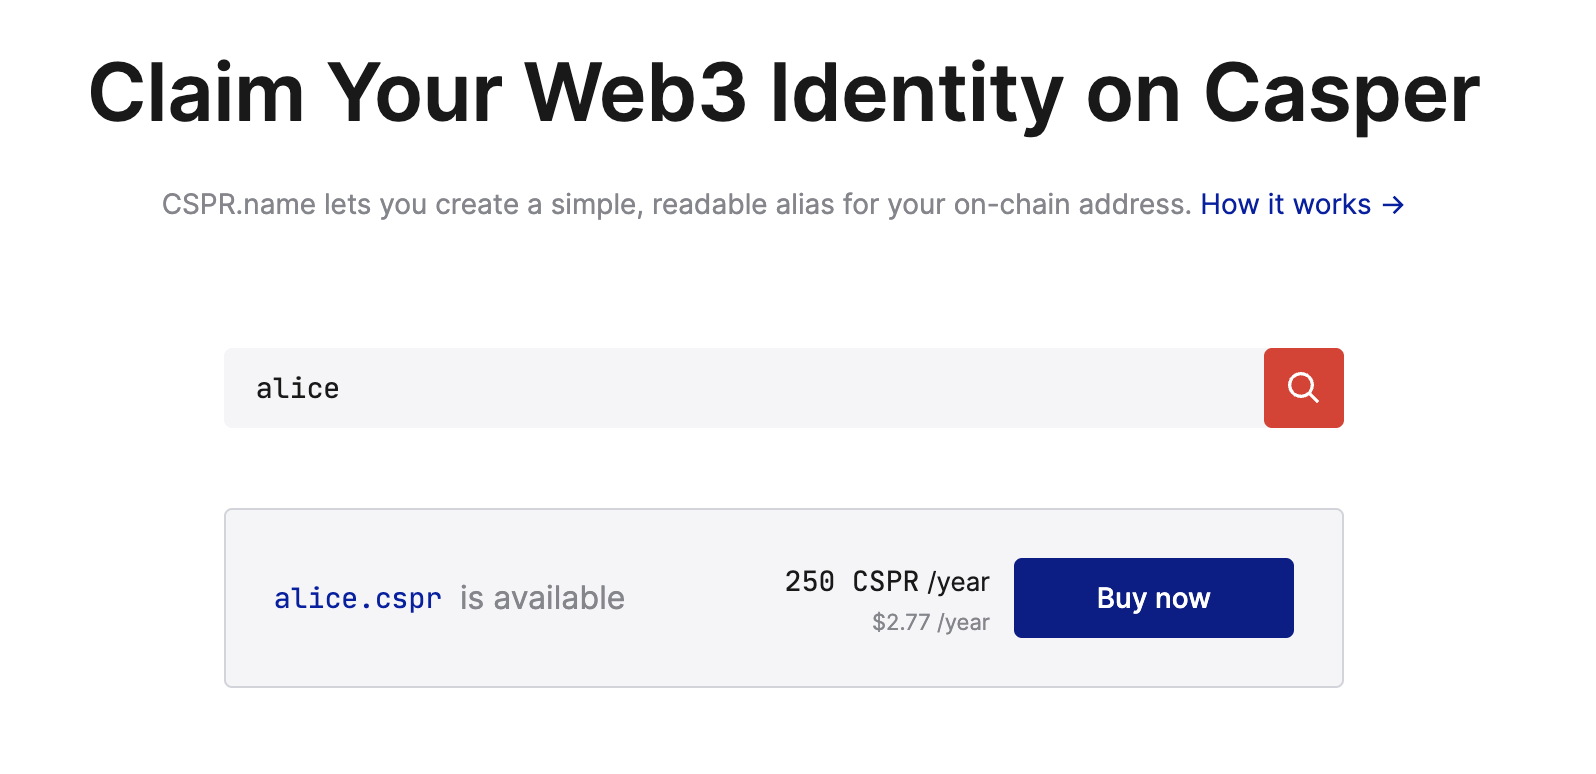
Go to cspr.name and use the search bar to look up the name you want.
Depending on the name’s status, you’ll see one of the following options:
Buy now: The name is available for purchase.
Make offer: The name is already owned by someone else and is listed on CSPR.market. (Secondary sales are not yet available)
Contact us: The name is either protected or shorter than 3 characters and requires special handling. Names shorter than 3 characters are priced individually and may not be available for public sale.
Let’s assume the name you chose is available for purchase. It only takes a couple of clicks from here.
Note that prices vary by length:
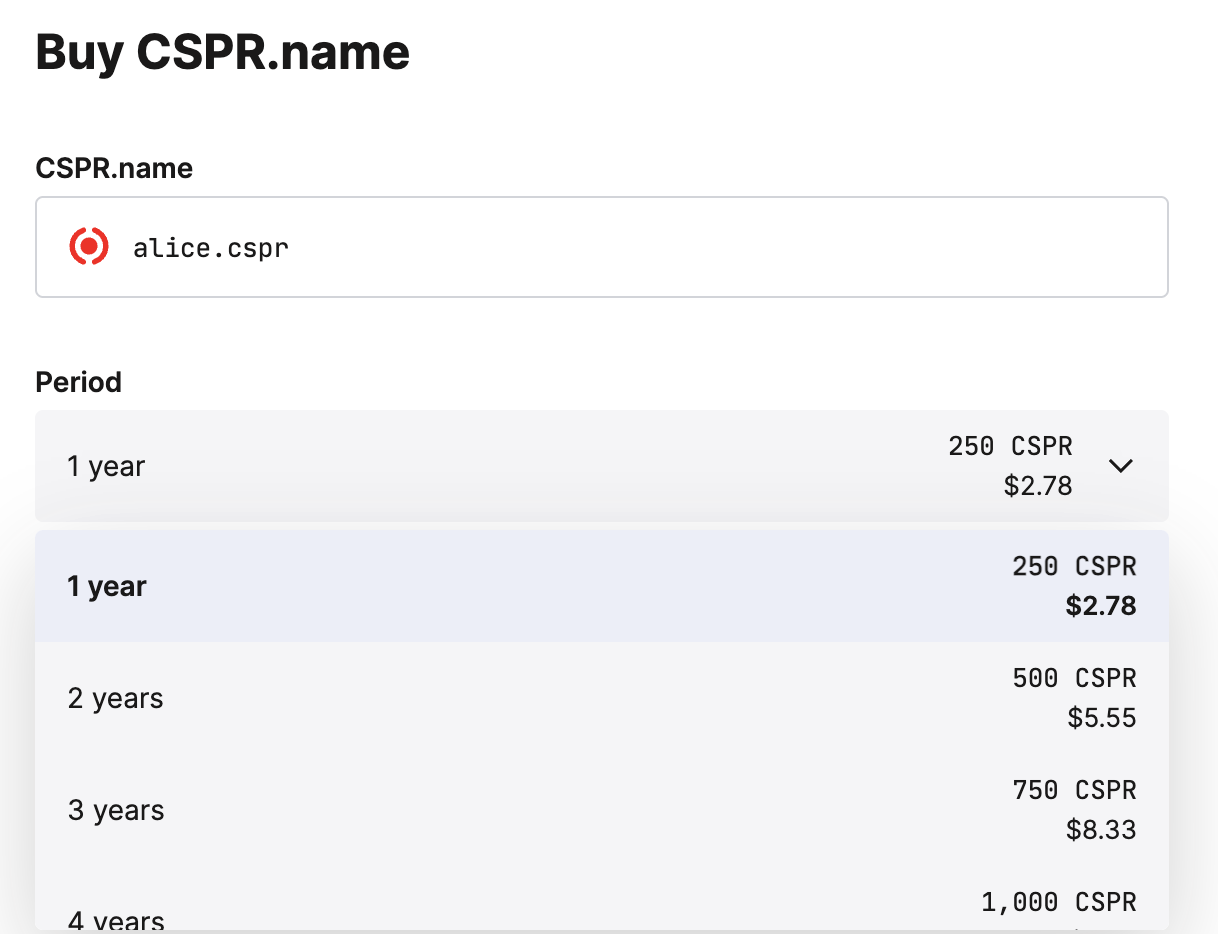
Make sure your wallet has some extra CSPR to pay for the transaction costs.
When you complete the purchase, the name is yours for the duration of your purchase. You can renew it before expiration, or let it lapse.
Once you own the NFT, the name is not yet linked to your Casper account. To assign it:
Now, anyone using a dApp or wallet that supports CSPR.name will be able to interact with your account using your chosen name instead of your full address.
Example: Instead of sending to 01de5...beef9, they can now send directly to alice.cspr.
If you want your name to be displayed instead of your public key across supported dApps, you’ll need to make it primary.
To set a name as your primary:
Even if someone else assigns a name to your account, you can still choose to set it as your primary, ownership of the name isn’t required to display it.
Secondary sales and trades will be available via cspr.market, stay tuned for announcements.
